This page contain affiliate links. Please refer to my Disclosures Page for more details.
STOP! Before you hit ‘Jump to Recipe’ check ‘Skip to the Good Bit‘ below. I may answer a query you have about this recipe.
I’m a sucker for simple and traditional and both are key elements in my Gluten Free Gooseberry Cobbler recipe.

Skip to the good bit

Subscribe today!
Sign up to my Friday Newsletter & receive 3 Free Downloads!
- GF & DF e-Book
- Conversion Guide
- 3 Guides to Dietary Needs
How do you prepare gooseberries?
Preparing fresh gooseberries is not much different to rhubarb or Bramley apples. To prepare the fruit you can nip the stalks with your fingernails and take off the remnants of the flower (that crispy dry bit on the bottom of the berry). I keep the berries whole and add to a saucepan with a tablespoon of water and sugar to taste. After that you simply heat gently until the berries go soft and you achieve the stewed fruit consistency of your liking.
Other ways to pre-cook your gooseberries
Microwave – steam your berries in a lidded microwave proof dish. I don’t bother to add any water, simple sprinkle with sugar, add a lid (or a plate that covers the dish) and steam for 1 minute. Check on the fruit after this time and if necessary heat again for another minute, times will vary depending on your microwave wattage (mine is 900W).
Oven – as above add the berries to an oven proof dish, and cook in a hot oven for about 8-10 minutes.

Fresh or canned gooseberries?
Well the question really is can you source fresh gooseberries? If the answer is yes, then go for fresh I’d say. With fresh gooseberries you get a better authentic green/yellow colour you also get to choose how soft your fruit is in the cobbler.
Tinned fruit is a whole lot simpler as the fruit has been prepared for you and soaked in syrup so no need to sweeten at all. You are going to get a softer fruit using the tinned version and the gooseberries will have lost their vibrant green colour too, often turning a pinkish colour.
It’s also worth mentioning that ONE tin of gooseberries that weighs 300g is in fact only 145g once drained so for many of my recipes on Glutarama you’ll need two tins.

How did the Cobbler get it’s name?
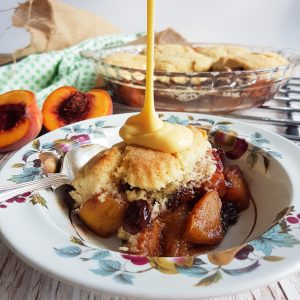
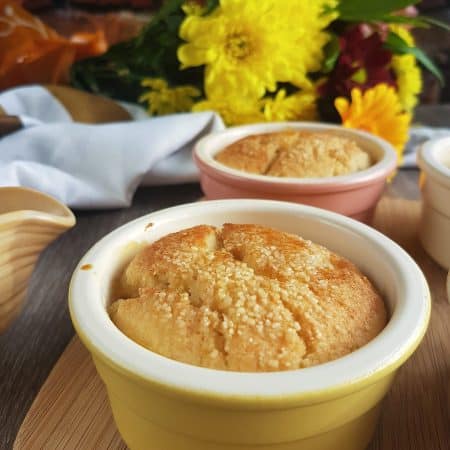
Here’s the fun bit, I originally wrote about this in my Deliciously Easy Gluten Free Peach Cobbler. What is the history behind the Fruit Cobbler? Where did the cobbler first appear, and how did the fruit cobbler get its name?
Who made the first cobbler?
Well the popular belief is that the cobbler first came about when families settled in America. Being used to suet puddings (seriously, they put suet in EVERYTHING), the British settlers made do with what ingredients they could find and adapted fruit pies and steamed suet puddings. As the adapted topping was different in structure it was added to the pie dishes in dollops, covering the fruit and baked in the oven.
Why call it a cobbler?
There are two theories to this, I happen to love them both equally. The first is that the pudding was literally ‘cobbled’ together given the circumstances and new ingredients hence the name cobbler.
A second theory is that the final baked cobbler resembled the cobbles from home back in London or other British cities and therefore it was affectionately given the name cobbler.
Which theory do you prefer? Let me know in the comments.
What fruits are traditionally used in a fruit cobbler?
This varies depending on when the cobbler is made i.e. what season and where in the world they’re made. Originally it was made with berries and stone fruit such as blackberries, blueberries, and even plums but as you can imagine, the settlers in America were suddenly excited by lots of new fruits to add so you also see cherries, apricots and the much loved peach.
What can I do with lots of gooseberries?
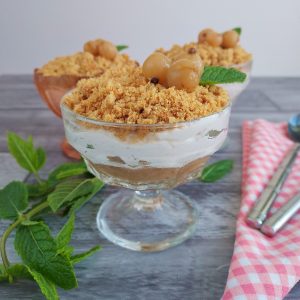
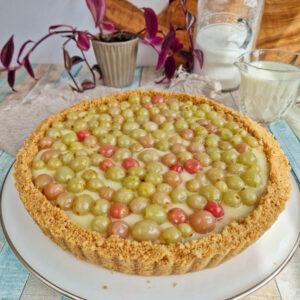
Ah! so you are a HUGE fan of gooseberries too then? Well that makes two of us so you’ll be please to know that I have a few recipes on the website and more in the pipeline (a great tip is to sign up to my Newsletter so that you never miss a new recipe).

How to make a gluten free Gooseberry Cobbler


For this Gluten Free Gooseberry Cobbler I decided to pre-cook my gooseberries on the hob. It didn’t matter if the berries broke down as they were not going to be used for decoration.
Once softened I set the berries aside to cool. Once cooler it’s a good time to check the sharpness of your berries, this is when you can add more sugar according to your taste.
As the berries cool set to work making your cobbler dough. I say ‘work’ this is all very simple indeed. Simply shove all the dry ingredients in a bowl and rub the butter together into breadcrumbs as you would a crumble mixture. Then add your water [or egg if using – see recipe notes] and bring together into a ball.
Once the dough has chilled pat the ball flat (no need for rolling pins here – less washing up!) and cut out your cobbles.
Place these stepping stones onto your cooled fruit that is now in the bottom of a pudding dish and pop into the oven to bake. As I said before; simple!

Equipment needed
- Kitchen Scales
- medium ovenproof baking dish 20x12cm
- medium saucepan
- mixing bowl
- pastry blender
- set of measuring spoons
- circle cutters
- silicone pastry brush
Ingredients needed
Gooseberry base
- fresh or canned gooseberries
- caster sugar
Cobbler dough
- butter or butter alternative
- caster sugar
- gluten free self raising flour
- water [or an egg]
- flaxseed [no need if using an egg]
- psyllium husk powder
Gluten Free Gooseberry Cobbler Recipe
If you make it and like the recipe I would be eternally grateful if you popped back and commented leaving a star rating as this will tell search engines that this recipe is worth checking out and others will get to find it in searches.
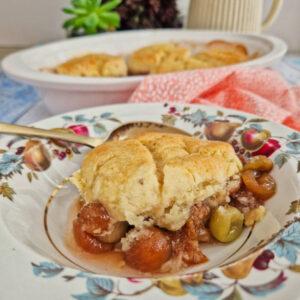
Gluten Free Gooseberry Cobbler
Equipment
Ingredients
Gooseberry base
- 300 g gooseberries fresh or canned [see notes on preparation]
- 40 g caster sugar
Cobbler dough
- 60 g butter or butter alternative (I use Flora plant butter) I used Flora vegan salted block
- 60 g caster sugar
- 130 g gluten free self raising flour
- 50 ml water [see egg version in notes]
- ½ tsp flaxseed [see egg version in notes]
- ½ tsp psyllium husk powder (optional) or you can use xanthan gum
Instructions
To make the fruit base
- Add your fresh gooseberries to a saucepan along with the sugar (other cooking methods are in the notes).
- Cook over a medium heat until the fruit begins to breakdown slightly and the juices get sticky and thicker. Set aside to cool.
To make the cobbler dough
- In a bowl rub together the butter/dairy free spread, flour and sugar into breadcrumbs.
- Add the flaxseed and psyllium husk and mix again to combine, (skip this if making an egg version).
- Pour in the 50ml of water and with a knife cut through the breadcrumb mixture until it begins to come together to form larger lumps, (if making an egg version, NOW add your egg).
- Tip this lumpy crumble mixture onto the kitchen surface and begin to bring together by gently kneading. Don’t worry, it will come together to form a dough but expect it to be quite soft.
- Roll the cobbler dough into a ball, wrap in foil and pop into the fridge to rest for 30mins.
- Preheat the oven to 200°C | 180°C fan | 400°F | Gas 6
To build the cobbler
- Pour the cooled stewed gooseberries into an oven proof dish and give a shake to even out the fruit.
- Take the cobbler dough out of the fridge and knead for 1 minute until smooth.
- Pat the dough to 1 inch think and cut 5-6 cobble stones with a small fluted edge cutter.
- Place the cobbles on top of the gooseberries.
- Take any little offcuts and place them on the stewed fruit to fill in any big gaps, the gaps will depend on the shape of your oven dish.
- Brush with dairy free milk and sprinkle a little sugar on top of each cobble to help it go a golden colour.
- Bake in the oven for 25-30mins until golden in colour and the fruit bubbles around the edges of the pie dish.
- Serve once slightly cooled with custard or cream.
Notes
Nutrition
Click to find out more about the Free From Food Awards
I love to see your photos of my bakes, dinners and treats. Head to your favourite social media account and don’t forget to tag me in @glutarama so I can see them too!
Click to see gluten free products available on Amazon
Subscribe to my email list so that you get NEW recipes straight in your mailbox every Friday plus 3x FREEBIE’s and access to some amazing gluten free DISCOUNTS


Join my friendly Facebook Group
life’s a drama, gluten free doesn’t have to be….
Shop new arrivals
-
 Product on sale
Back to Biscuits e-Book
Original price was: £8.99.£5.99Current price is: £5.99. -
 Product on sale
Back to Biscuits – Paperback
Original price was: £14.99.£10.99Current price is: £10.99.





Leave a Reply